A Beginner's Guide to Manual Mode in Photography
If you're new to photography, you may have found yourself relying on your camera's automatic mode to get the perfect shot. While automatic mode can be convenient, it can also limit your creative control and prevent you from achieving the exact look and feel you want for your photographs. That's where manual mode comes in.
Manual mode, also known as M mode on your camera's mode dial, allows you to take full control of your camera's settings. This includes the aperture, shutter speed, and ISO. By adjusting these settings yourself, you can create a wide range of looks and effects that are simply not possible in automatic mode.
In this guide, we'll cover the basics of manual mode and provide some tips and tricks to help you get started.
What is Aperture?
Aperture refers to the size of the opening in your lens that allows light to pass through to the camera's sensor. The aperture is measured in f-stops, and a smaller f-stop number corresponds to a larger aperture opening.
Aperture plays a key role in the depth of field of your photograph, which is the area in the image that appears in focus. A larger aperture (smaller f-stop number) will result in a shallower depth of field, which means that only a small portion of the image will be in focus. This can be great for portraits, as it allows you to isolate your subject and blur out the background. A smaller aperture (larger f-stop number) will result in a deeper depth of field, which means that more of the image will be in focus. This is ideal for landscape photography, as it allows you to capture a wide range of focus from the foreground to the background.
What is Shutter Speed?
Shutter speed refers to the amount of time that the camera's sensor is exposed to light. It is measured in seconds, or fractions of seconds. A faster shutter speed will allow you to freeze action, while a slower shutter speed can create a sense of motion blur.
In manual mode, you can adjust the shutter speed to achieve the desired effect in your photograph. For example, if you're photographing a moving car, you may want to use a fast shutter speed to freeze the action. On the other hand, if you want to capture the feeling of movement, you can use a slower shutter speed to create a sense of blur.
What is ISO?
ISO refers to the sensitivity of the camera's sensor to light. A lower ISO value corresponds to lower sensitivity, while a higher ISO value corresponds to higher sensitivity.
In manual mode, you can adjust the ISO to achieve the desired level of exposure in your photograph. For example, if you're taking a photo in a low light situation, you may need to increase the ISO to compensate for the lack of light. However, it's important to note that increasing the ISO can also introduce noise (grain) into your photograph.
Tips for Using Manual Mode
Now that you have a basic understanding of aperture, shutter speed, and ISO, here are a few tips to help you get started with manual mode:
- Experiment with different settings: The best way to learn about manual mode is to simply start taking photos and experimenting with different settings. Try out different combinations of aperture, shutter speed, and ISO to see how they affect the final image.
Use the exposure triangle: Aperture, shutter speed, and ISO are known as the exposure triangle because they work together to determine the exposure of your photograph. As you adjust one setting, you'll need to compensate by adjusting one of the other settings. For example, if you increase the aperture to create a shallow depth of field, you may need to decrease the shutter speed to compensate for the extra light coming in through the larger aperture.
2.Use the histogram: The histogram is a graphical representation of the tonal range in your photograph. It can be a helpful tool for getting the exposure right in manual mode. A well-exposed photograph will have a histogram that is evenly distributed across the graph, without any spikes at the extreme ends.
3. Start with the aperture: Aperture is a good place to start when setting your camera's settings in manual mode. This is because the aperture not only controls the depth of field, but it also has an impact on the amount of light that enters the camera. Once you've set the aperture, you can then adjust the shutter speed to get the desired level of exposure.
4. Practice, practice, practice: The more you practice using manual mode, the more comfortable you'll become with adjusting the settings and predicting the results. Don't be afraid to take lots of photos and experiment with different settings.
In conclusion, manual mode can be a powerful tool for photographers who want to take full control of their camera's settings. While it may take some time and practice to get the hang of it, the end result will be worth it when you're able to create the exact look and feel that you want for your photographs. So don't be afraid to take the plunge and try out manual mode – you might just discover a whole new level of creative control in your photography.
Share this post


Commercial Photography
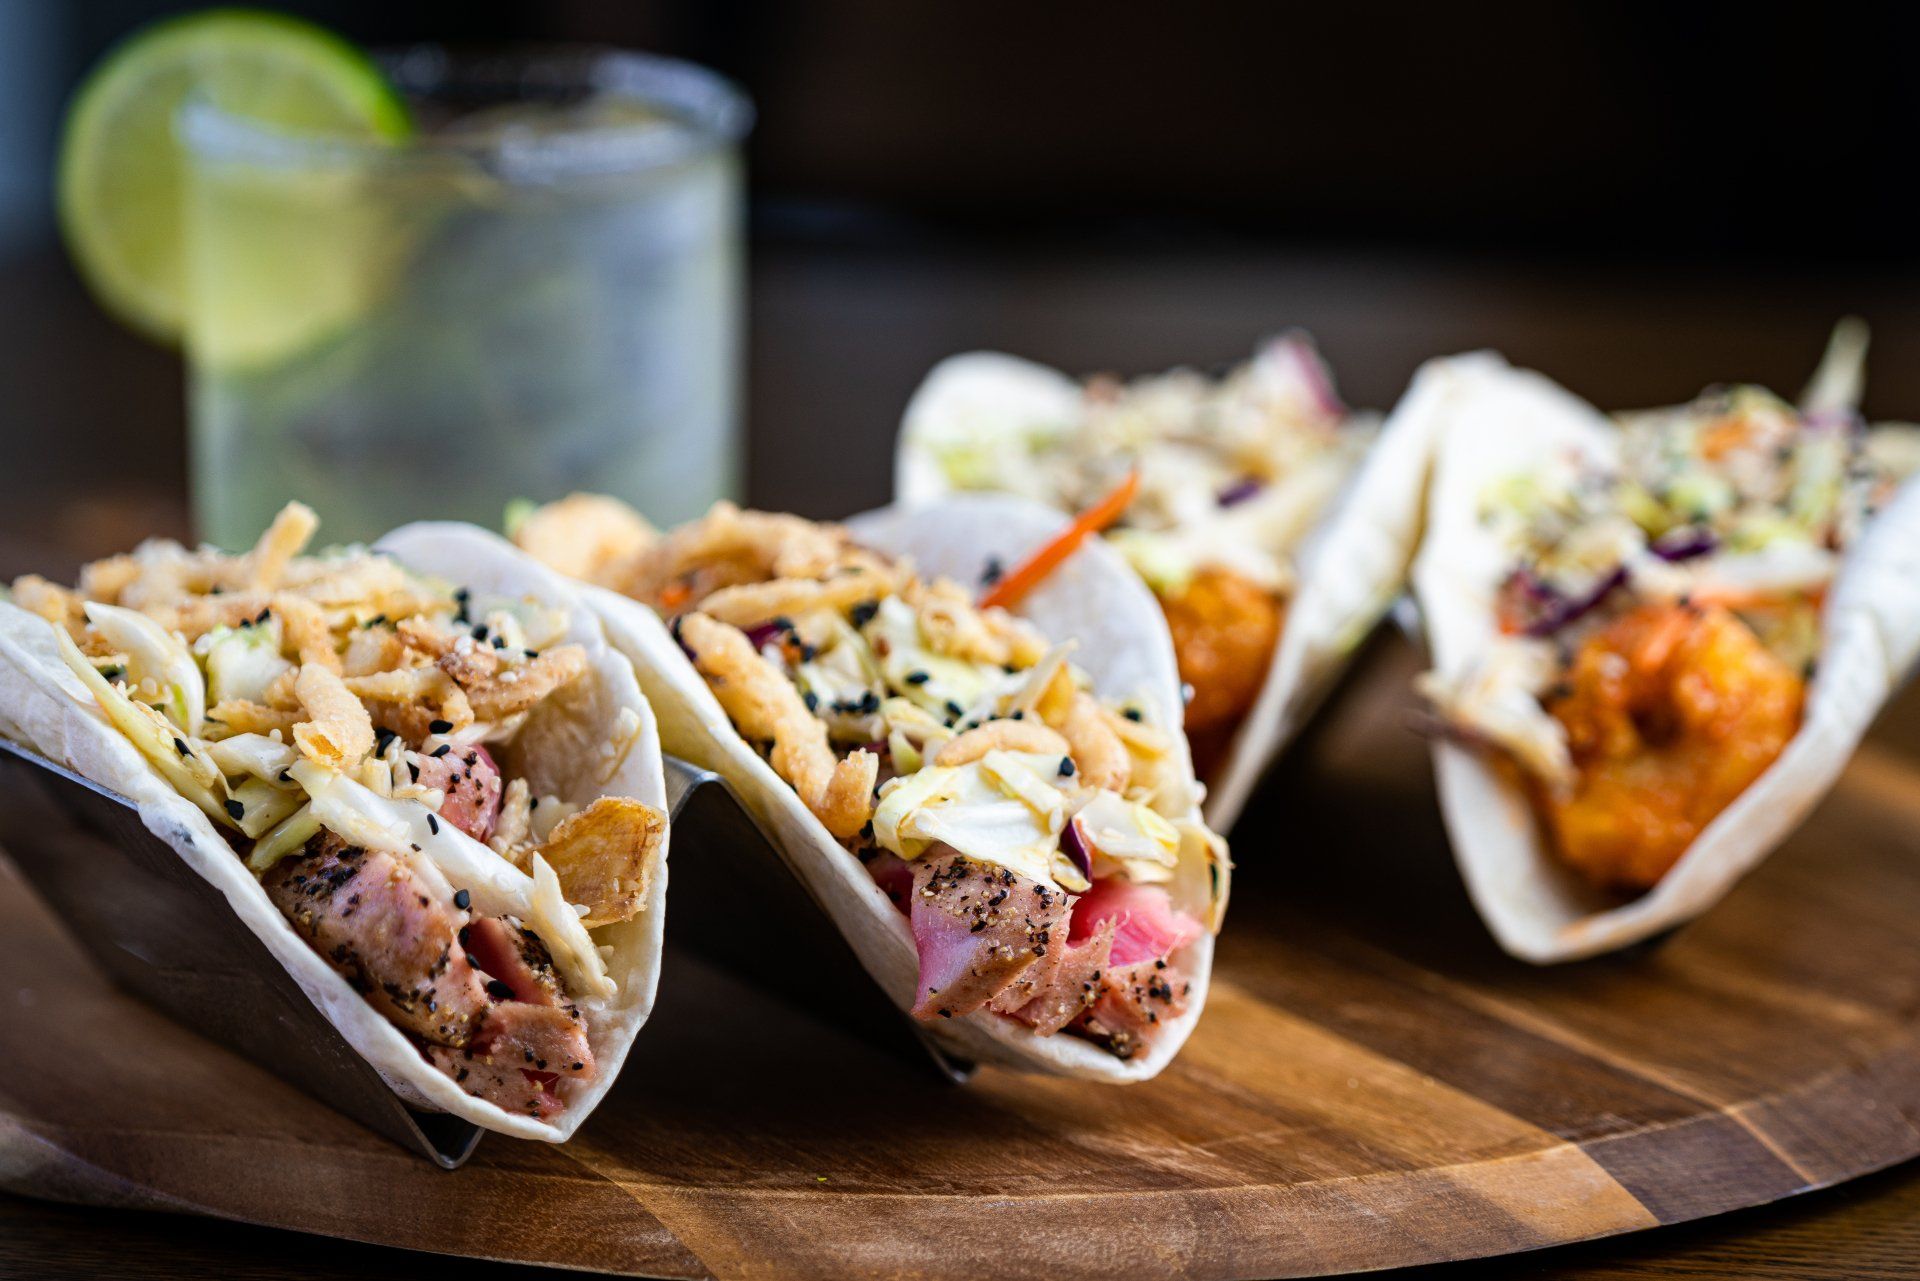
With our experience photographing food, products, storefronts, and services, we'll help your Austin, TX business get the attention it deserves.
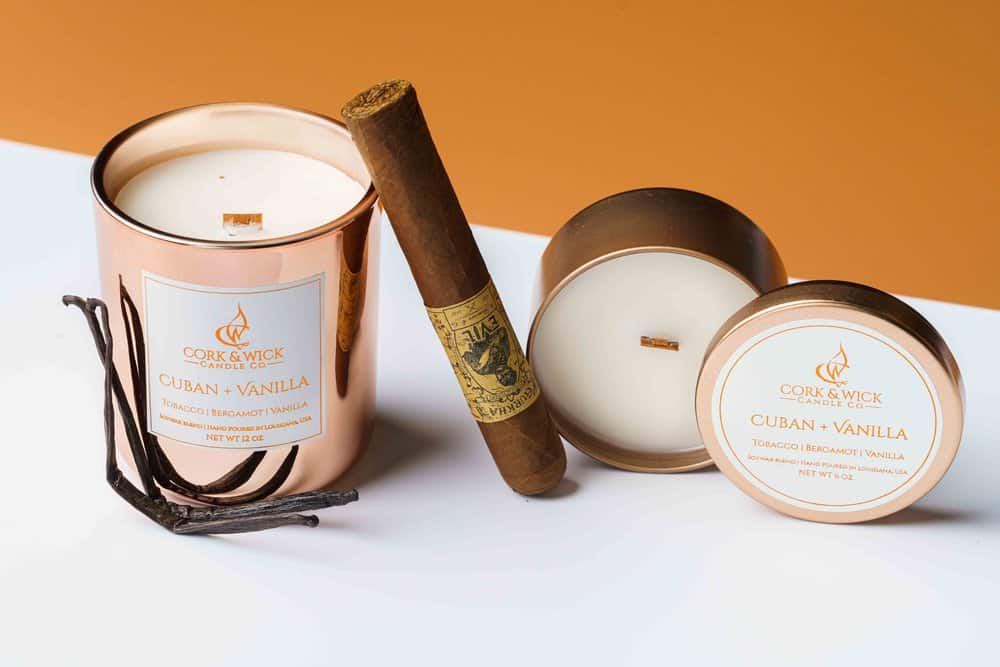
Got the best tacos in Texas, and just need to get customers in the door? We'll help your food move with mouth-watering imagery.
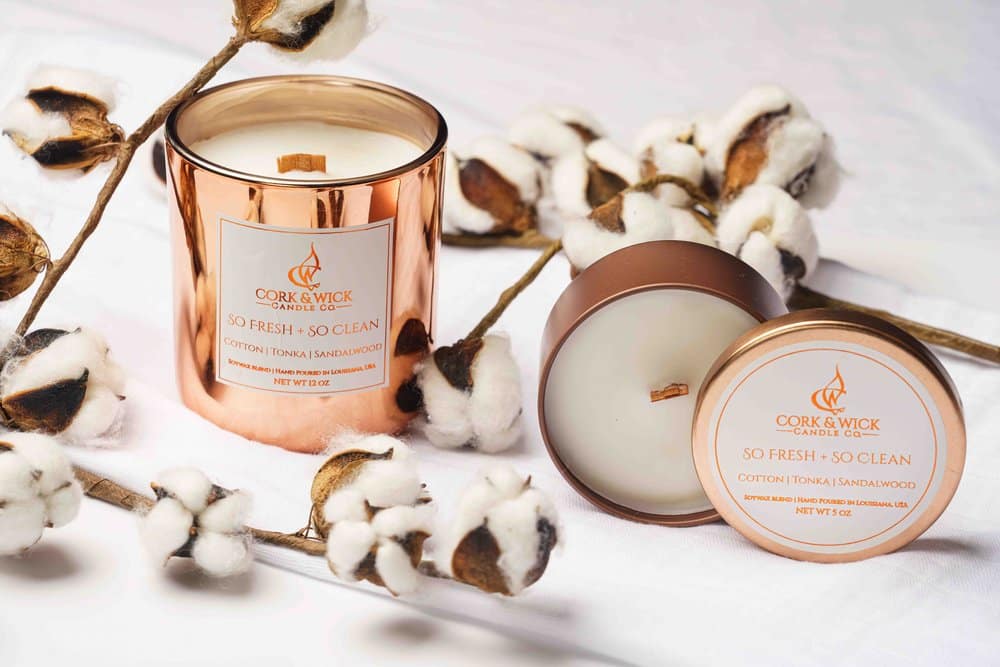
Got a beautiful product that needs to pop in your marketing? We'll help it fly off your shelves.
Learn more about our Austin commercial photography.
Other Austin Area Photography Services
Learn more about photography and articles about planning your photography event.